This tutorial will create a simple multiplayer game to show how to use EdgeMultiplay in your Unity Project
Configuration
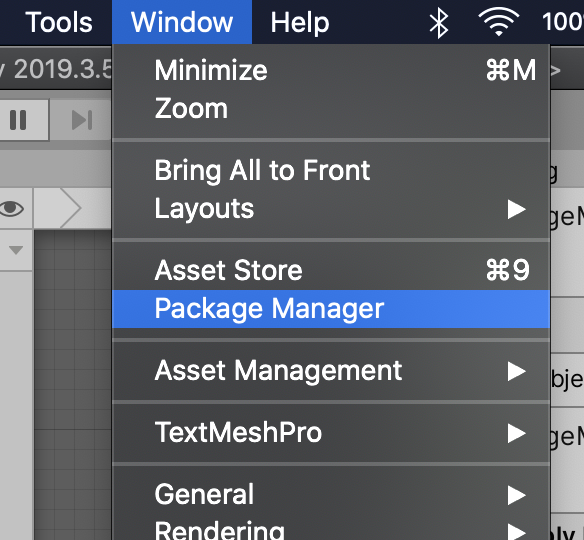
Step 1: Add the MobiledgeX Unity SDK Package In your Unity Project, select Window/Package Manager.
In the Unity Package Manager, select Add package from git URL.
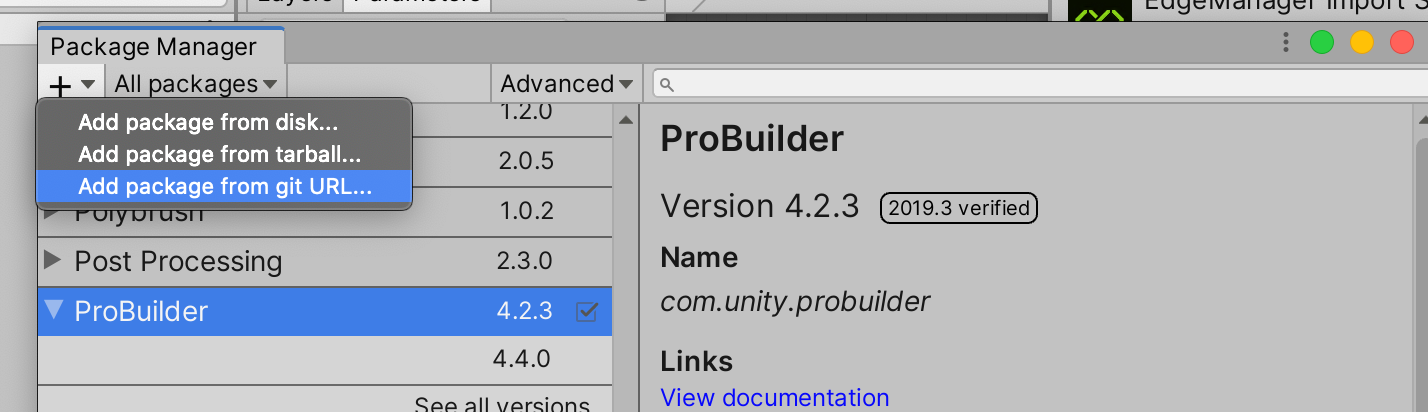
Add package from git URL option Copy and paste this URL: https://github.com/mobiledgex/edge-cloud-sdk-unity.git
Now, the MobiledgeX SDK is added to your Project packages.
If you have a Unity version older than 2019.3, please check our Unity SDK doc for installation steps. We also recommended that you upgrade your Unity version
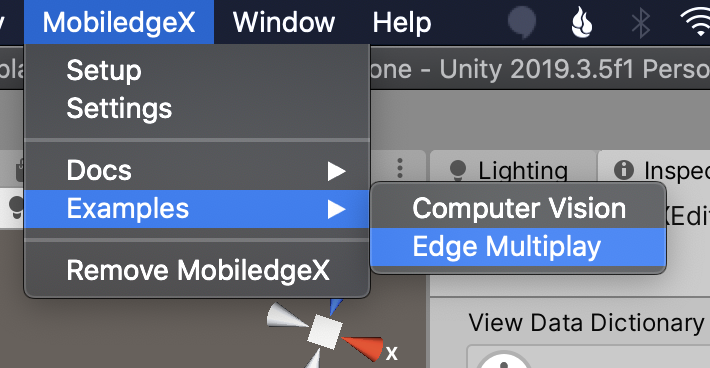
Step 2: Import EdgeMultiplay to your Unity Project From the menu bar, select MobiledgeX and navigate to Examples: EdgeMultiplay & Import it to your Project.
Step 3: Add Application Credentials Select MobiledgeX/Setup.

If you don't have access to MobiledgeX Console Use MobiledgeX-Samples, EdgeMultiplay, 2.2
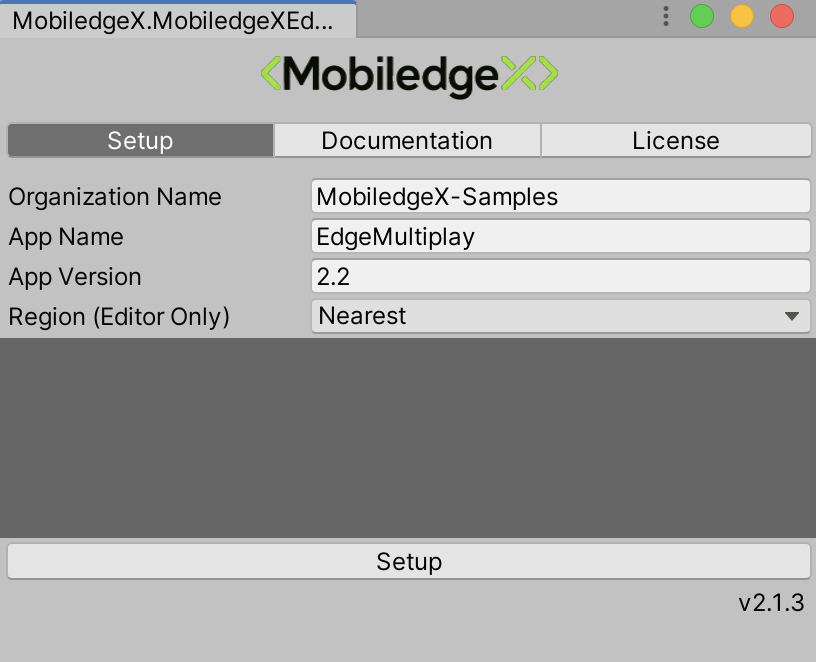
Click Setup. Your Unity Project is ready for EdgeMultiplay. If you are using the shared EdgeMultiplay server, consider that other developers might be using the same server, reach out to us to get a dedicated server through our Early Access Program for free for a certain time.
Creating the Game in the Editor
Create empty object in the scene and rename it to GameManager
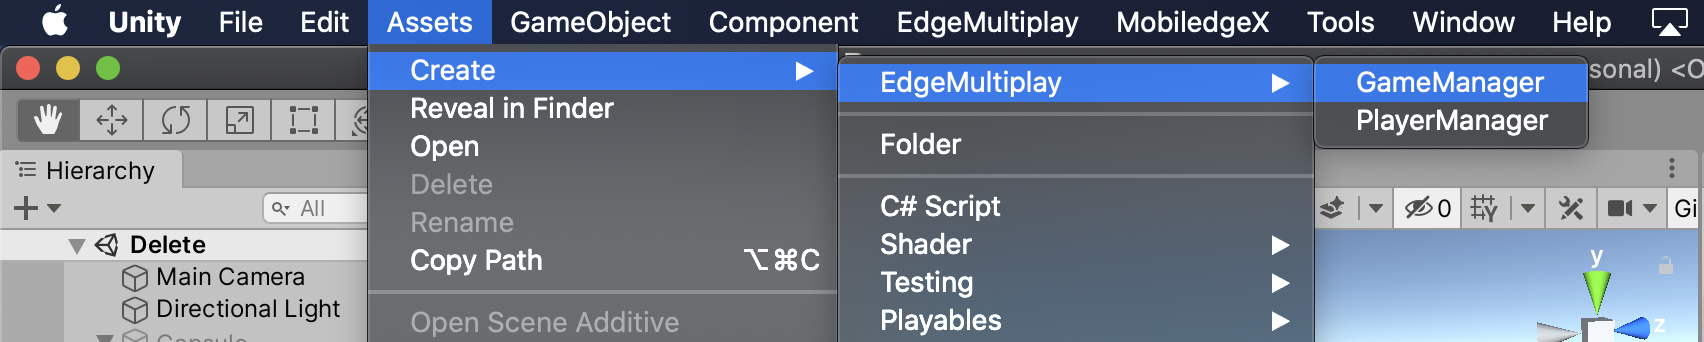
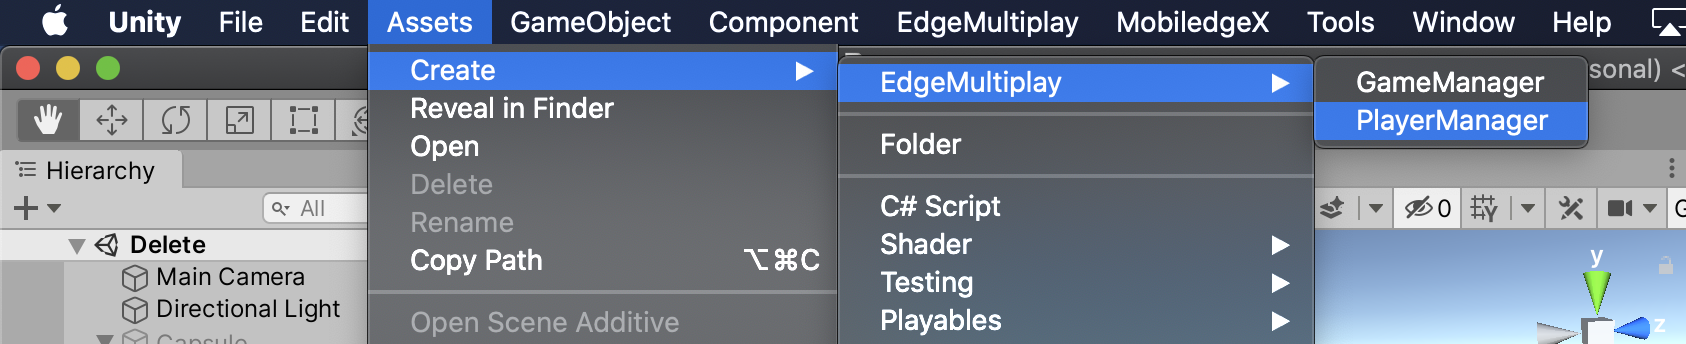
Create GameManager.cs, Click Assets/Create/EdgeMultiplay/GameManager
You will find your GameManager.cs in the Project tab.
Drag and Drop GameManager.cs on to GameManager GameObject
Create a Cube and make it a prefab
Create PlayerManager.cs & Click Assets/Create/EdgeMultiplay/PlayerManager
Drag and Drop PlayerManager.cs to the Cube Prefab In PlayerManager.cs
We want to track the player position and rotation for this will we will use EdgeMultiplayObserver
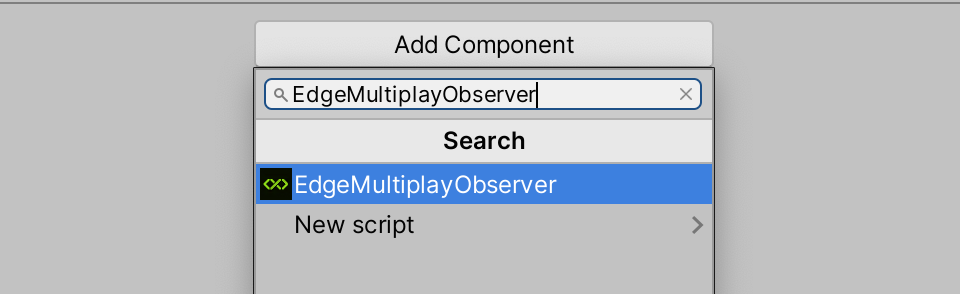
In the inspector Select AddComponent and add EdgeMultiplayObserver
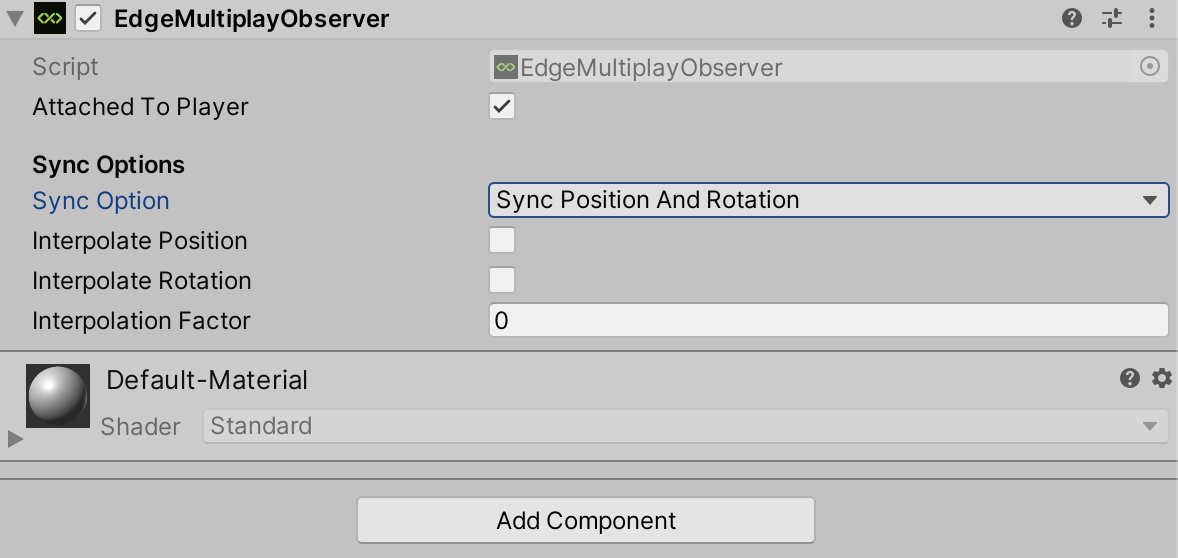
Make sure to check “Attached To Player” checkmark and select “Sync Position & Rotation”
We will add some some logic to move our local player
In PlayerManager.cs add this snippet to move the player by keyboard input
(Up & Down) for moving forward and backward
(Left & Right) for rotating the player
 private void Update()

 {

 if (isLocalPlayer)

 {

 float h = Input.GetAxis("Horizontal");

 float v = Input.GetAxis("Vertical");

 transform.Translate(new Vector3(0, 0, v));

 transform.Rotate(new Vector3(0, h, 0));

 }

 }
Also we want the camera to follow the player so we will add a snippet in PlayerManager.cs In the Start Function add this
 void Start () {

 ListenToMessages();

 if (isLocalPlayer)

 {

 Camera.main.transform.parent = transform;

 Camera.main.transform.localPosition = new Vector3(0, 1, -4);

 Camera.main.transform.localRotation = Quaternion.Euler(Vector3.zero);

 }

 }
Since we want to test this on PC or Mac we need to change a line in GameManager.cs
In the Start function change
ConnectToEdge();
to
ConnectToEdge(testingMode: true, useFallBackLocation: true);
Now, Play the Scene